Doll Accessories for Blythe, Pulip and more..

Dolls are never complete without doll accessories. Today, we carry Cell phones, digital cameras, PDAs, Notebooks and many gadgets. However, our dolls often lack such luxuries. I decided that we shouldn't deprive them of such. In this blog, I will showcase some of the doll accessories and furnitures, I've made and how I make them as I build a doll house for my Wife's dolls.

Thursday, February 01, 2007

Making of the double decker bed

Apologise for the lack of updates for those who has been checking back.
I have been a little busy at work and with whatever time i had, I was trying to draw some pictures for my up and coming wedding day. Will be updating some of the information up there, not wanting to give a way to much to my guest attending.HEHE "www.whenjeffmeetscindy.blogspot.com">

Now back to the double -decker bed.


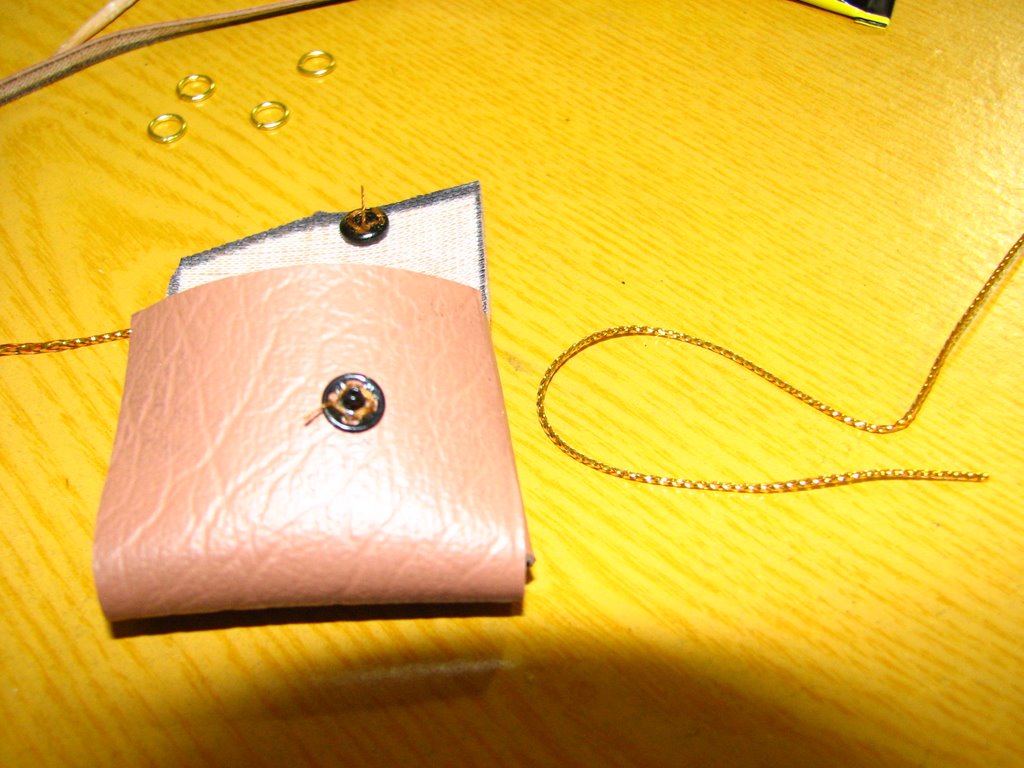
Unfortunately, I forgot to document the early steps. The truth is I cheated. The best looking part of the bed was actually ripped from a Pencil holder.

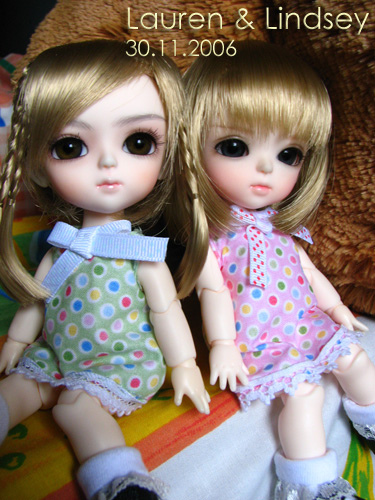
My wife wanted a bed for her girls and we been shopping around for one. And there just isnt one that is suitable. Until we were are the stationary department.
And I saw this Pooh Bear Pencil holder. And this is it. We got our bed I told her.

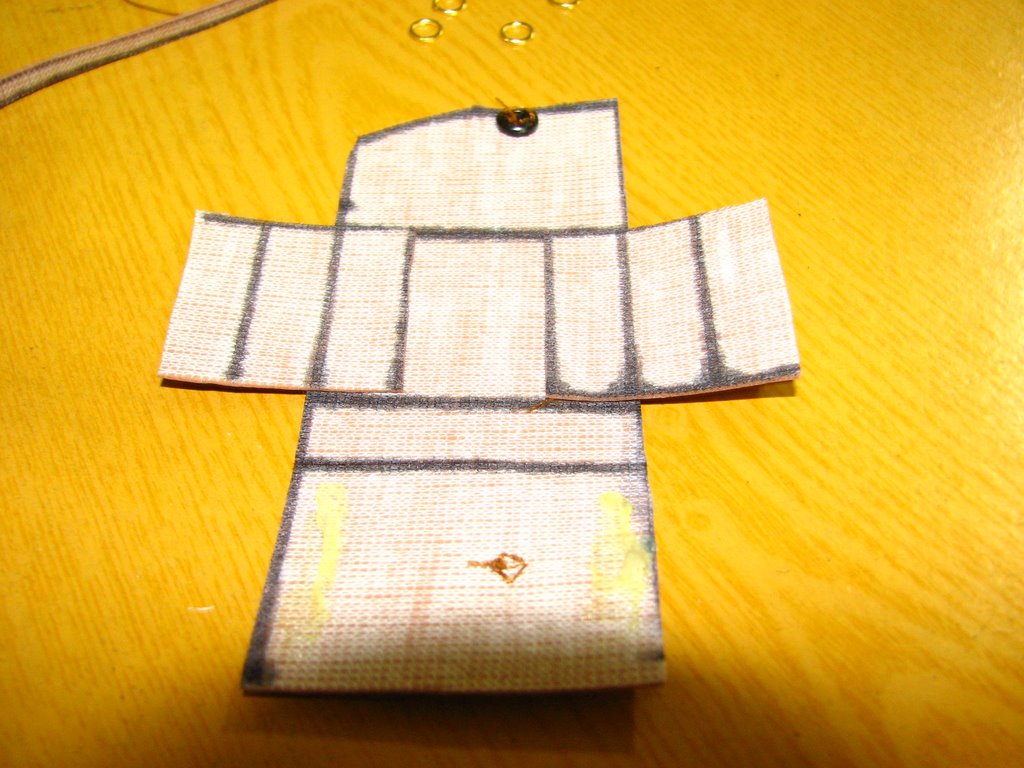
And the very next day we are in action.

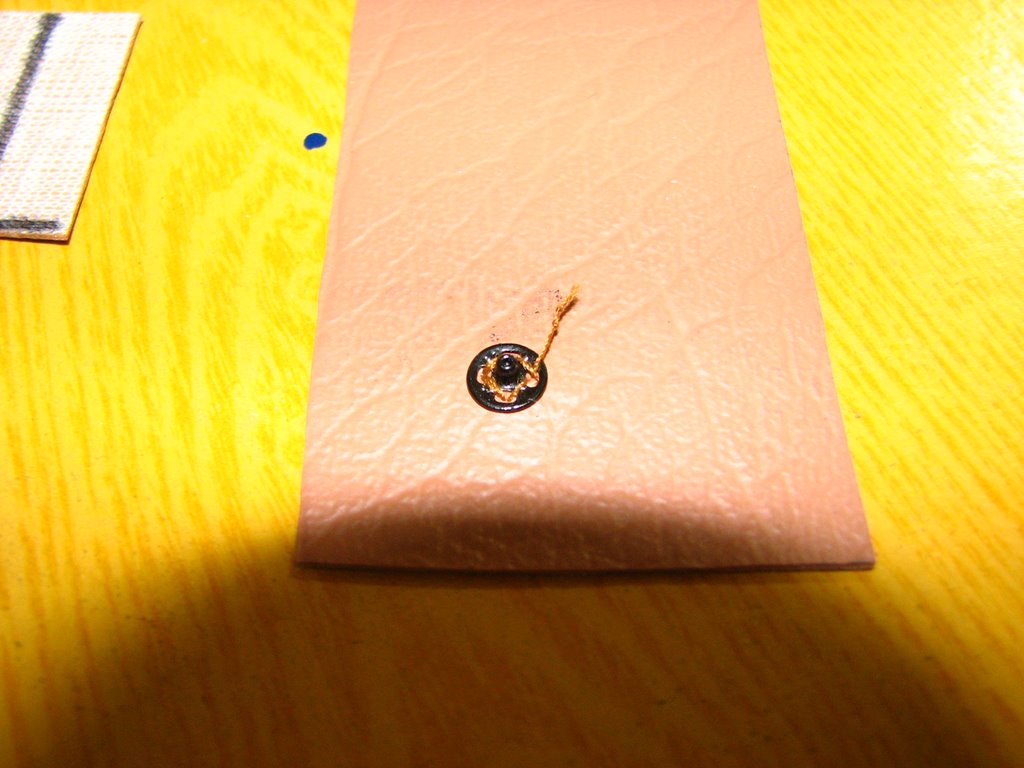
We, a got a little further than this.. but still a sometime to completion.. Until next time. The girls will have to sleep on the "floor"

Wednesday, December 27, 2006

Making a double decker bed for my Wife's new dolls..

Recently, my wife have a new found love.. And I moved too.. cos they are simply adorable..
And she has been comtemplating of making them a bedroom.. and she did.. Pictures of Lauren and Lindsey room will be up shortly...

However, something was missing.. According to my wife, how can the room be complete without a bed.

And since there are 2 of them. I decided to create a double decker bed.
check back for my work in progress.

Sunday, October 08, 2006

Its been a while...


I really have been neglecting this blog.
1st, I was down with Gastric flu that keeps me from having any mood.
2nd, been too busy with my other creative work http://www.cardsofheart.blogspot.com that is keeping my mind away from working on any new doll accessories
3rd. I have a new idea, but I am not too sure if I can pull it through. Do check back for updates.

Meanwhile, any suggestions will be most welcome.

Till I have more updates, here are more pictures of my Laptop carrier case/ handbag for my doll.

Wednesday, September 27, 2006

More updates on the Carry case for my Laptop.


Sorry for the lack of updates. Been thinking of what else to make for the Girls, Any suggestions?
Meanwhile more updates on the bag.

1. Clip on button was sewn to synthetic leather. So that the flap can properly be held in place when bag is close.
2. The inside of the bag is really ugly. LOL, showing the fold lines. so you will know were to fold. If you have the intention to make one. Btw my design really sucks.. I am sure anyone could have come out with a better design.

Sunday, September 17, 2006

Painted the laptop and added a laptop carry case.


Finally have it painted.. However, I have to draw the "Vaio" logo free hand.. Its pretty ugly..
but well.. that's the best I can achieve for now.. Hope I could find a better alternative than drawing free hand next time.

And sneak peek of the laptop carrier in the making.

More updates on the lap top


Thanks for checking back.. as promised here are some the updates for the laptop.
In my previous post, I only showed what I did but didn't explain the parts.
For those interested of making their own. Here's what I did,
1. 4 x (3.5 x 2.5 cm) of plastic rectangles were cut from PVC plastic
2. For 2 of the plastic sheets, recesses were cut to make place for the hinge joint
3. To allow space for the keyboard on side of the side. More of the recess should be cut. I would recommend 1.5 x 2.5cm
4. Add the 2 remaining plastic sheet, each on both sides of the hinge.
5. File and sand the edges to give it a smooth finish.

For the keyboard. It might seems deceptively simple, but engraving the "keys" requires much skills and patience. Remember the key board is not just a set of grids. ( It really depends on how detail you wish to mimic the real thing) However, the lines can use easily engrave with the use of a blade. Careful not to cut yourself though.

Saturday, September 16, 2006

Ok.. I am not good at keeping suspense


I am gonna show some pictures of Work in Progress. Not too pretty.. just for now I hope..
More pics in a few hours time as I go work more on it..

Finally... A laptop for the girls.

Cindy, has always been wanting to get her girls a lap top/ notebook, and has been shopping for it. but never have the luck (never manage to pick the right box of re-ment). I promised to make her one. but never get to it.. until today.


Last week, she was asking her friend about which model should the laptop be modelled after and she suggested VAIO.... and so I made her a vaio.. haha..

Since then, I been thinking of how to make one.... and I even toy with the idea of making a laptop bag to go along with it.

Watch out this column for updates.

Friday, September 15, 2006

Its painted.


Well the final outcome of the product was a huge distant from what I would want it t be...pretty sad.. but well, Its my first try..

Will be working on a Lap top today.. check back for updates

More Updates on the camera


Its been a while since I post my last updates on the camera. Work has been too busy...
So here goes. This is how the camera looks like before it will be painted.
Thanks for looking.

And oh.. again, for those who wish to take fantastic. Captivating pictures of dolls. I found this ebook which you guys might find interesting. Read about it here.

Look what I found today

Hey for all dolls lovers out there!! I found this site and its pretty interesting.
It teaches us how to capture great photos for your dolls. Check it out.