More updates on the lap top

Thanks for checking back.. as promised here are some the updates for the laptop.
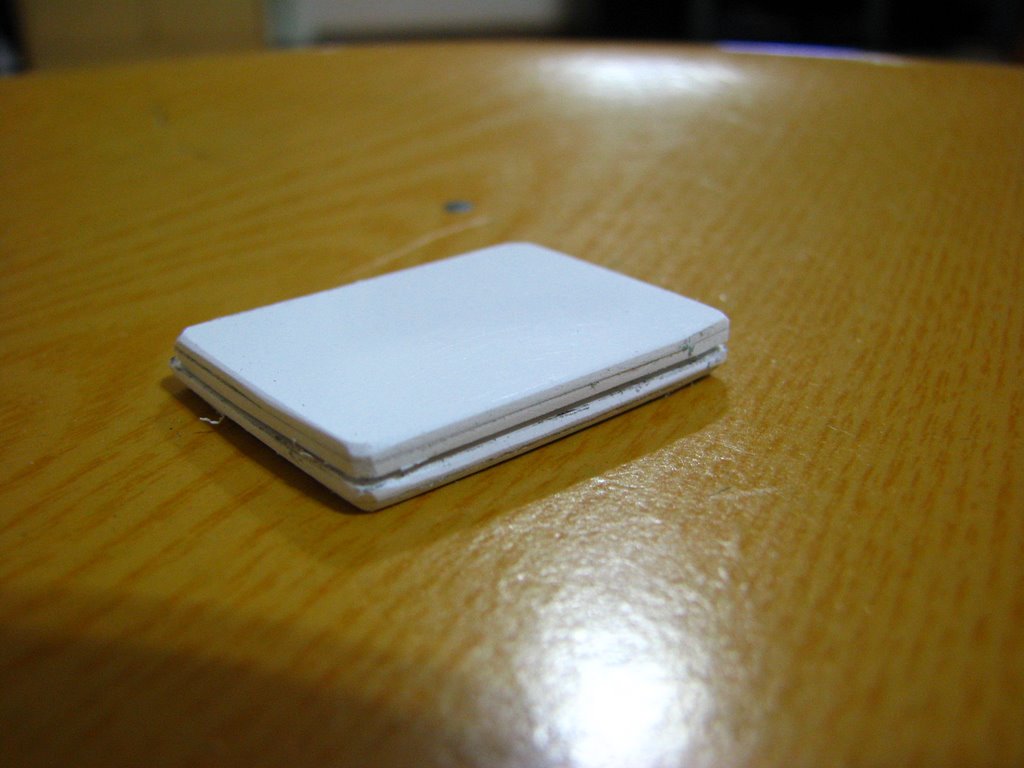
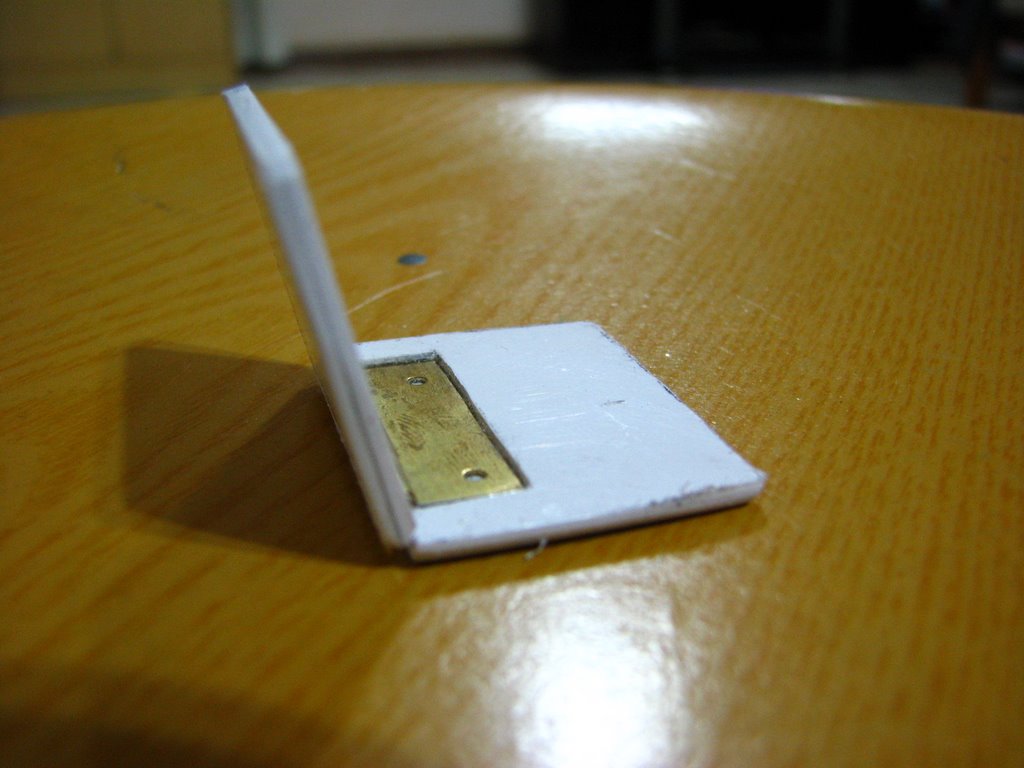
In my previous post, I only showed what I did but didn't explain the parts.
For those interested of making their own. Here's what I did,
1. 4 x (3.5 x 2.5 cm) of plastic rectangles were cut from PVC plastic
2. For 2 of the plastic sheets, recesses were cut to make place for the hinge joint
3. To allow space for the keyboard on side of the side. More of the recess should be cut. I would recommend 1.5 x 2.5cm
4. Add the 2 remaining plastic sheet, each on both sides of the hinge.
5. File and sand the edges to give it a smooth finish.
For the keyboard. It might seems deceptively simple, but engraving the "keys" requires much skills and patience. Remember the key board is not just a set of grids. ( It really depends on how detail you wish to mimic the real thing) However, the lines can use easily engrave with the use of a blade. Careful not to cut yourself though.
posted by Arcee @ 5:42 AM
![]()


0 Comments:
Post a Comment
<< Home